I wanted professional, on-brand photos of myself without booking a photographer for every variation: a website hero, a clean headshot, a few editorial portraits in different outfits and settings. The job sounded simple. Generate as many looks as I want while the face stays unmistakably, identically mine in every single one. The trap is that I have a calibrated eye for my own face. A five percent drift in the jaw, the proportions, the set of the eyes reads instantly as "not me." And every standard text-to-image path failed that test, every time.
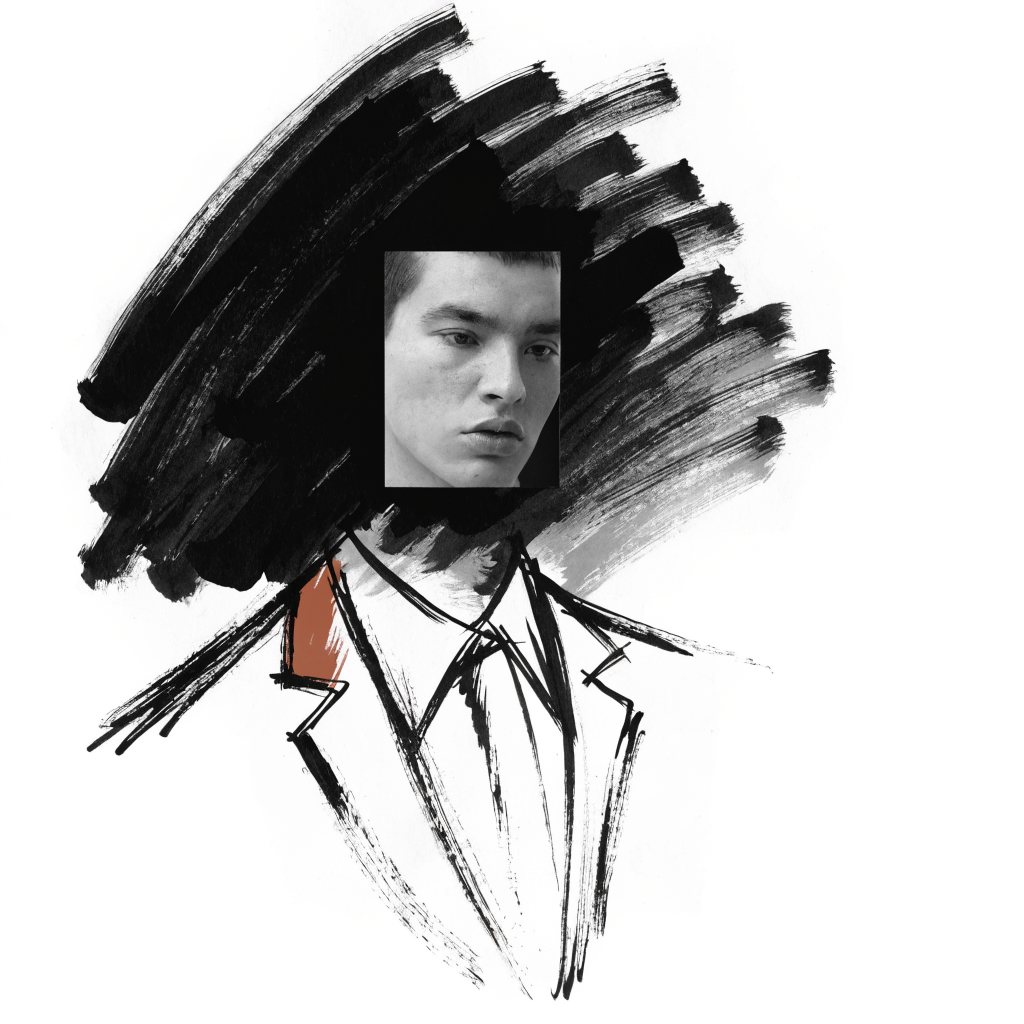
So the rule I landed on: never let the model render the identity-bearing pixels. Let it build the outfit, the background, the composition, even the field of light. The face itself must be real photographic pixels, lifted from a real photo and put back in. I did not start there. I got there by failing at every other approach first.
Everything that invents the face fails
The first thing most people try, and the first thing I tried, is to train a personal model on a set of your own photos. Fine-tune a FLUX adapter on fifteen to thirty real images and it will happily generate you in any setting. The problem is what it actually learns. It learns an average of your face and then invents that average from scratch on every render. Best case, the output is "a guy who resembles me." Turning the adapter strength up and down only moves where the failure lands: too strong and it over-bakes, too weak and it drifts toward a generic stranger. Train it on low-variety selfies and it faithfully learns a slightly distorted face and reproduces the distortion perfectly.
Then I tried the one-photo identity adapters, the family of methods built around IP-Adapter and InstantID. These encode a face into an embedding and condition the diffusion on it. They are genuinely impressive, and they all share the same flaw for my purpose: they guess the face from a vector. One made the beard fuller, another came out thinner, a third shifted the proportions. Each was a plausible person. None was the specific person.
Face-swap had the same disease in a different coat: it rebuilds a face from an identity representation, so the result is an approximation, smoothed and idealized. Scene-from-cutout generators produced beautiful frames but re-rendered the whole thing, face included, and quietly cleaned it up.

Why my eye is right and the model is wrong
After enough rounds I stopped treating the drift as a tuning problem and accepted it as a property. Every generated face carries a signature my eye correctly flags, because a denoiser doesn't copy my face; it synthesizes a face from a description. Even the edit-and-relock approaches, where you hand the model a real image and ask it to change only the outfit, run the face through the denoiser during the edit, so it comes out close but shifted, and the shift is different on every shot. Stacking more reference photos made it worse, not better. Off-angle references average together and soften the result, the same way a composite sketch loses the specific person.
That gave me the rule directly. My eye only accepts my real pixels. So the face has to be real pixels. The model gets the entire rest of the frame, and the face gets transplanted.
There was a second source of drift that took me longer to see. It was not the model, it was the process making free choices. When the pipeline got to pick which reference photo to use and decide what to keep, it drifted just from that variance. The fix was to remove the choices. Pin reference selection to a fixed lookup keyed on head angle, use fixed prompts, and match the real-photo angle to the scene angle. Frontal to frontal, three-quarter to three-quarter. And never mirror a reference, because a face is asymmetric and a flipped face is a subtly different person.
The pipeline, step by step
Here is what actually runs now. Shoot yourself once against a clean wall in even light, hitting every head angle: frontal, three-quarter left and right, profile, plus a few tight close-ups for the chin and jaw. These photos are your identity source for everything downstream. Decide the scene's head angle first, then look up the matching real photo from a fixed list. No on-the-fly "which one looks best." That judgment call is exactly where the drift creeps in. Background-remove the chosen photo down to a clean head cutout on transparency. Then hand the model only the cutout with a precise prompt: a real person's head on a transparent background, build a photorealistic scene around it, keep the face exactly as the cutout, do not redraw it. Models in the current Gemini image class are strong at this, building plausible bodies, clothing, and rooms while leaving the supplied face mostly alone. The load-bearing step is compositing: align the real face to the scene face using facial landmarks and a similarity transform, warp it into place, and feather the edge of the mask slightly. In my own comparisons, having a high-fidelity edit model transplant the angle-matched real face into the scene won over a manual warp, with minimal seam or warp distortion.

If the face needs to match the scene's light, use a strict instruction: change only how light and shadow fall, keep features, bone structure, texture, and identity one hundred percent identical, do not redraw or beautify. The deterministic fallback I trust more is frequency separation: borrow the scene's low-frequency lighting onto the real face's high-frequency texture, so the light moves and the face does not. Finish with a fixed photographic color grade, a print-film look applied the same way every time, instead of a generative "polish" pass. That kills the clean, plastic, video-game quality of raw model output and, because it is deterministic, it never drifts.
The gotchas that cost me time
A few specifics, because they each cost me a day. Warm, golden-hour scenes wash out olive skin and read as a lighter, different person, so I clamp the skin tone. If your reference set is all frontal and you ask for a turned head, you will get drift, because there is no angle-matched real photo to lift from. If all your real photos are smiling and you prompt a neutral face, the model invents the expression, so shoot the expressions you actually want. Do not over-enumerate anatomy in the prompt; a simpler prompt plus selecting against drift beats a paragraph of facial description. And never edit an already-synthetic image to make a variant, because you are compounding a fake face. Re-composite from the real photo every time.
Generate the world, not the face
If I compress everything to one principle, it is this. I treat generation as the world builder and the real photo as the identity source. Never let the model render the identity-bearing pixels, never feed an AI image of yourself back in as a reference, and select-and-lift instead of blending many references into an average. Then finish the seam and grade in deterministic code. The model imagines a place to stand. The face stays from a real photo.
Some operational details in these essays have been changed for narrative or privacy reasons. The arguments, the numbers, and the lessons are real.